In the competitive world of online retail, compelling visuals are paramount. This article serves as a comprehensive how-to guide for achieving impeccable symmetry in your apparel product photography, covering everything from garment preparation to post-production editing, ensuring your clothing images stand out and convert
Introduction to Symmetrical Product Photography
Symmetrical product photography is essential for eCommerce businesses looking to showcase their apparel in the most appealing way. By capturing images that emphasize balance and symmetry, sellers can enhance the visual appeal of their products, making them more attractive to potential buyers. This technique not only highlights the features of the clothing but also creates a professional look that can help build brand credibility. In this guide, we will explore the best practices for taking symmetrical apparel photos that stand out in the competitive online marketplace.
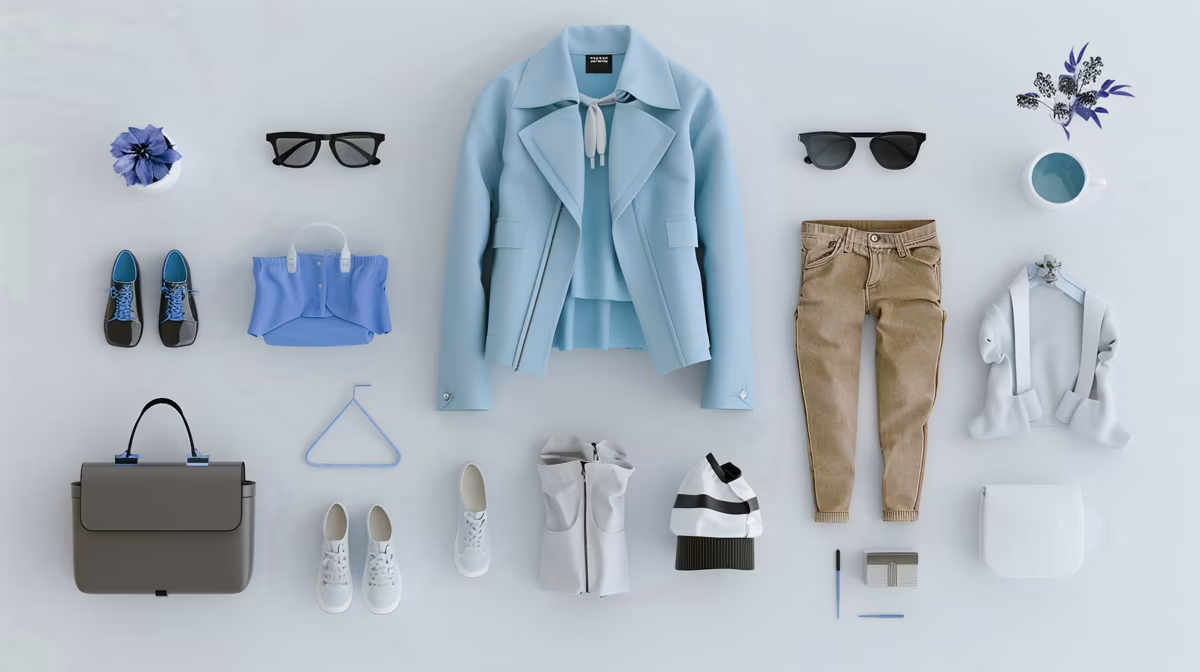
Importance of Symmetry in Clothing Photography
Symmetry in apparel photography is not merely an aesthetic choice; it is a critical element that profoundly impacts consumer perception and trust. When shoppers encounter clothing images that are crooked, unbalanced, or asymmetrical, it creates a subconscious signal of disorder and a lack of attention to detail. Conversely, perfectly symmetrical product photos convey a sense of order, professionalism, and high quality, which can significantly boost sales and establish brand credibility. This meticulous approach to photography for ecommerce signals that every piece of clothing has been handled with care, translating directly into a more favorable perception of the fashion products themselves.
Benefits for Online Stores
For any ecommerce store, the benefits of symmetrical apparel product photography are multifaceted and directly contribute to commercial success.
A polished, professional look immediately elevates the brand image, making the online store appear more sophisticated and trustworthy. Balanced images are significantly easier for customers to process visually, reducing friction in the shopping experience and allowing for faster evaluation and comparison of clothing products.
This visual ease, coupled with the inherent appeal of symmetrical compositions, fosters a sense of satisfaction and completeness, ultimately lowering buying friction and leading to improved conversion rates for your apparel images.
High-quality, symmetrical product images are more likely to convert, boosting both clicks and sales in a competitive marketplace.
Overview of the Photography Process
Achieving perfect symmetrical clothing images involves a structured, three-stage photography process. This process ensures high-quality, balanced presentations, crucial for any ecommerce product, and includes:
-
- Meticulous preparation, involving everything from building a mood board to ensuring all necessary tools and props are ready for the photo shoot.
- Precise shooting, which focuses on capturing the garment with careful attention to symmetry, whether utilizing flat lay photography, a ghost mannequin, or live models.
- Detailed post-production, where photo editing, background removal, and photo retouching refine the product photo to perfection.
Preparing for the Photo Shoot
Choosing the Right Apparel and Styling
Selecting the appropriate apparel and styling it meticulously are foundational steps in achieving compelling symmetrical product photography. It is imperative to choose garments in excellent condition, devoid of permanent wrinkles, stretched fabric, or damaged seams that cannot be easily rectified.
Prior to the photo shoot, each piece of clothing must be thoroughly steamed to eliminate all wrinkles and creases, with particular attention paid to sleeves, collars, and hems to ensure a pristine product look.
Delicate materials, such as silk, necessitate gentle handling and may require strategic use of clips to maintain their shape without over-stretching, preserving the garment’s integrity.
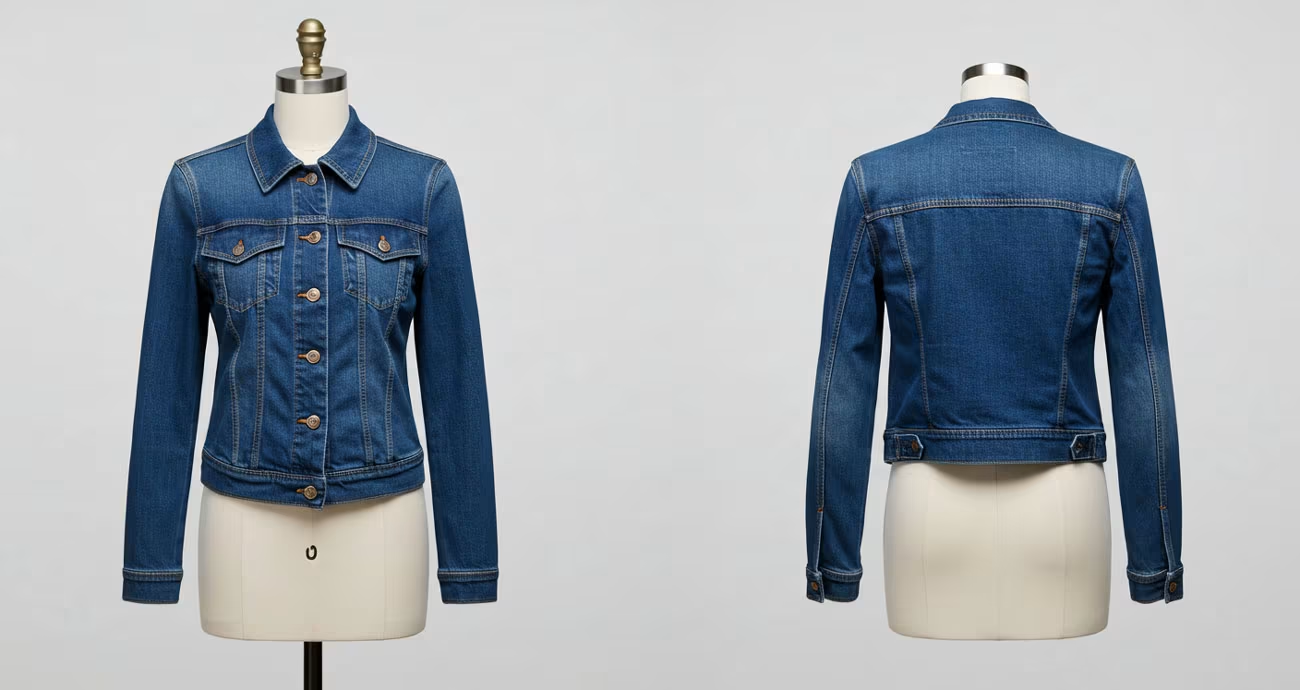
Conversely, heavier fabrics like denim, while more forgiving, still demand proper steaming to hold their form optimally.
Furthermore, arranging intricate details like buttons, zippers, and accessories symmetrically before capturing the product image is crucial.
Ensuring that shoulder seams, side seams, and collar edges are precisely positioned will prevent uneven lines and contribute significantly to the overall symmetry of the apparel images.
Finally, utilizing mannequins or models that perfectly fit the garments, avoiding any stretching or bunching of the fabric, is also vital for presenting a high-quality, balanced product photo.
Equipment Essentials for Symmetrical Shots
To produce high-quality, symmetrical apparel images, a strategic selection of equipment is paramount, often achievable without an exorbitant budget. The choice of camera is flexible, ranging from digital single-lens reflex (DSLR) cameras and mirrorless cameras to modern smartphones, with the latter benefiting greatly from a macro lens or feature for capturing intricate close-ups of the clothing product. Beyond these, here are some other key tools for successful apparel photography:
- An indispensable tool for consistent framing, ensuring sharp images, and eliminating camera shake during the photo shoot is a solid-base tripod.
- Proper lighting stands as a prerequisite for exceptional fashion photography. Achieving even illumination is key to showcasing the garment’s true color and texture without introducing harsh shadows or unwanted glare, which can detract from the symmetrical product look.
For creating a clean and professional aesthetic that highlights the piece of clothing, recommended backdrops include poster board, large sheets of paper, or paper rolls, preferably in white or light gray. This carefully chosen equipment empowers the photographer to capture the intricate details and overall balance of each apparel piece.
Setting Up the Photo Studio
The meticulous setup of the photo studio is a critical determinant in achieving flawless symmetrical product photography for ecommerce.
The primary objective is to establish even lighting, ideally by positioning two lights on either side of the apparel, designed to eliminate any uneven shadows that could distort the symmetrical appearance of the garment.
The angles of these lights should be carefully adjusted based on the fabric thickness to ensure optimal illumination without overexposure or underexposure.
Crucially, positioning the camera dead-center and perfectly level is non-negotiable for achieving optimal symmetry, as even a slight deviation can result in an asymmetrical product image.
For top-down shots, verifying that the camera is truly overhead is essential to prevent any skewing of the clothing product.
Leveraging camera gridlines or shooting tethered to a monitor provides real-time feedback, allowing the photographer to align garments perfectly within the frame and promptly identify and correct any symmetry issues.
Framing shots precisely from the outset, capturing the full product without unnecessary background elements, ensures that each piece of apparel is presented with the highest degree of symmetrical integrity for the online store.
Techniques for Capturing Symmetrical Apparel Images
Tips for Flat Lay Photography
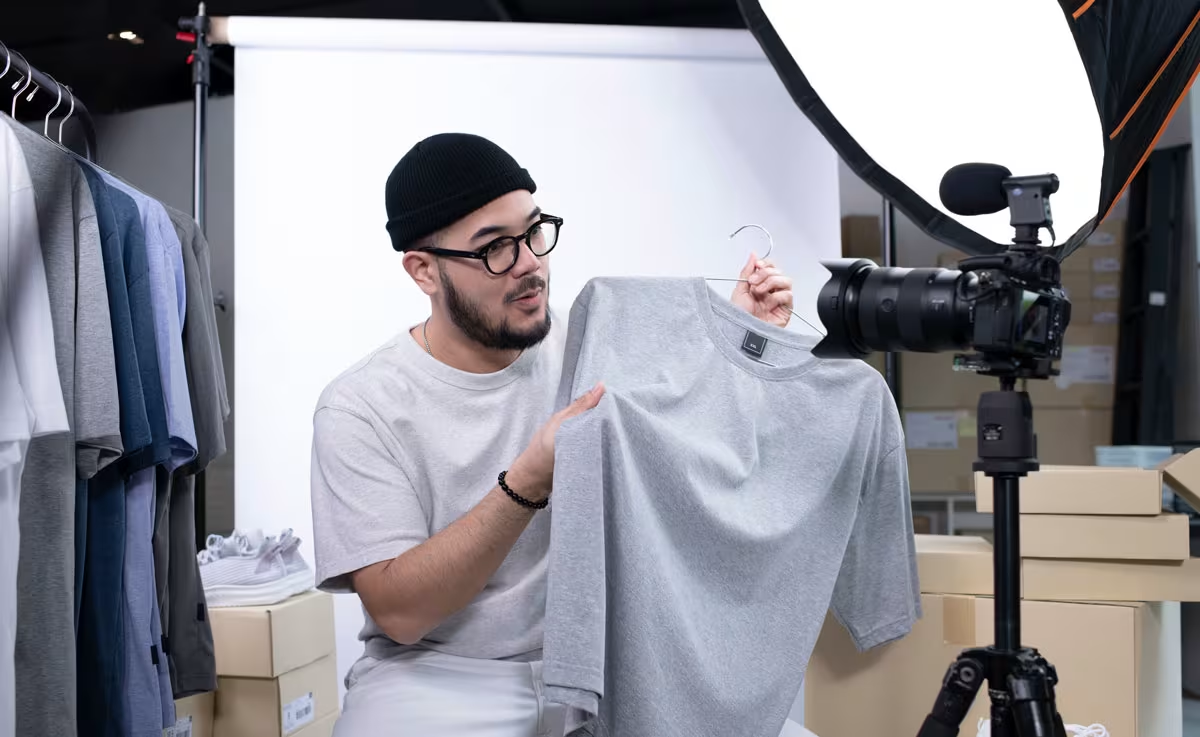
Flat lay photography is a versatile and effective technique for showcasing apparel, particularly suited for male clothing, accessories, and basic wardrobe items such as T-shirts, trousers, and socks.
This method involves arranging the piece of clothing or a composition of items on a flat surface and photographing them directly from above.
To achieve the best symmetrical product look, ensure the garment is meticulously arranged, with all seams and edges perfectly aligned.
Using props can enhance the storytelling aspect, but they must be positioned symmetrically to maintain balance and not distract from the main apparel.
This style of product photography allows for clear visibility of product details and is excellent for presenting different styles or color variants, providing a clean and organized aesthetic for any ecommerce store.
Using Mannequins and Ghost Mannequins
The use of mannequins, especially the ghost mannequin technique, is pivotal for creating compelling 3D apparel images that maintain perfect symmetry. When utilizing a regular mannequin for a photo shoot, the mannequin should be aligned straight and facing directly forward, with the camera positioned straight-on or at a slight up/down angle. To achieve a natural and professional product look, several steps are crucial:
- Stuff sleeves and body sections of the garment with batting, ensuring realistic volume and shape.
- For the ghost mannequin effect, which eliminates the mannequin in post-production, secure the fabric from behind using straight pins to maintain symmetrical draping.
This meticulous approach ensures that the final apparel product appears as if an invisible body is wearing it, providing a high-quality, balanced presentation for your online store.
Achieving Perfect Angles and Lighting
Achieving perfect angles and consistent lighting is fundamental to capturing symmetrical apparel images for ecommerce.
To minimize distortion that can make clothing look uneven or warped, photographers should opt for longer focal lengths, such as 50mm, 85mm, or even longer. Set a consistent aperture, typically around f/8-f/11, to ensure the entire garment remains in sharp focus from front to back, capturing every detail of the apparel.
If leveraging natural light, select a time of day when it is brightest and arrange products strategically to highlight their best features.
For maximum control, professional artificial lighting in a photo studio is recommended, often utilizing a three-point lighting kit with a key light near the camera, a fill light on the opposite side, and a backlight behind the clothing product, ensuring even illumination and perfect symmetry.
Post-Production Techniques in Photoshop
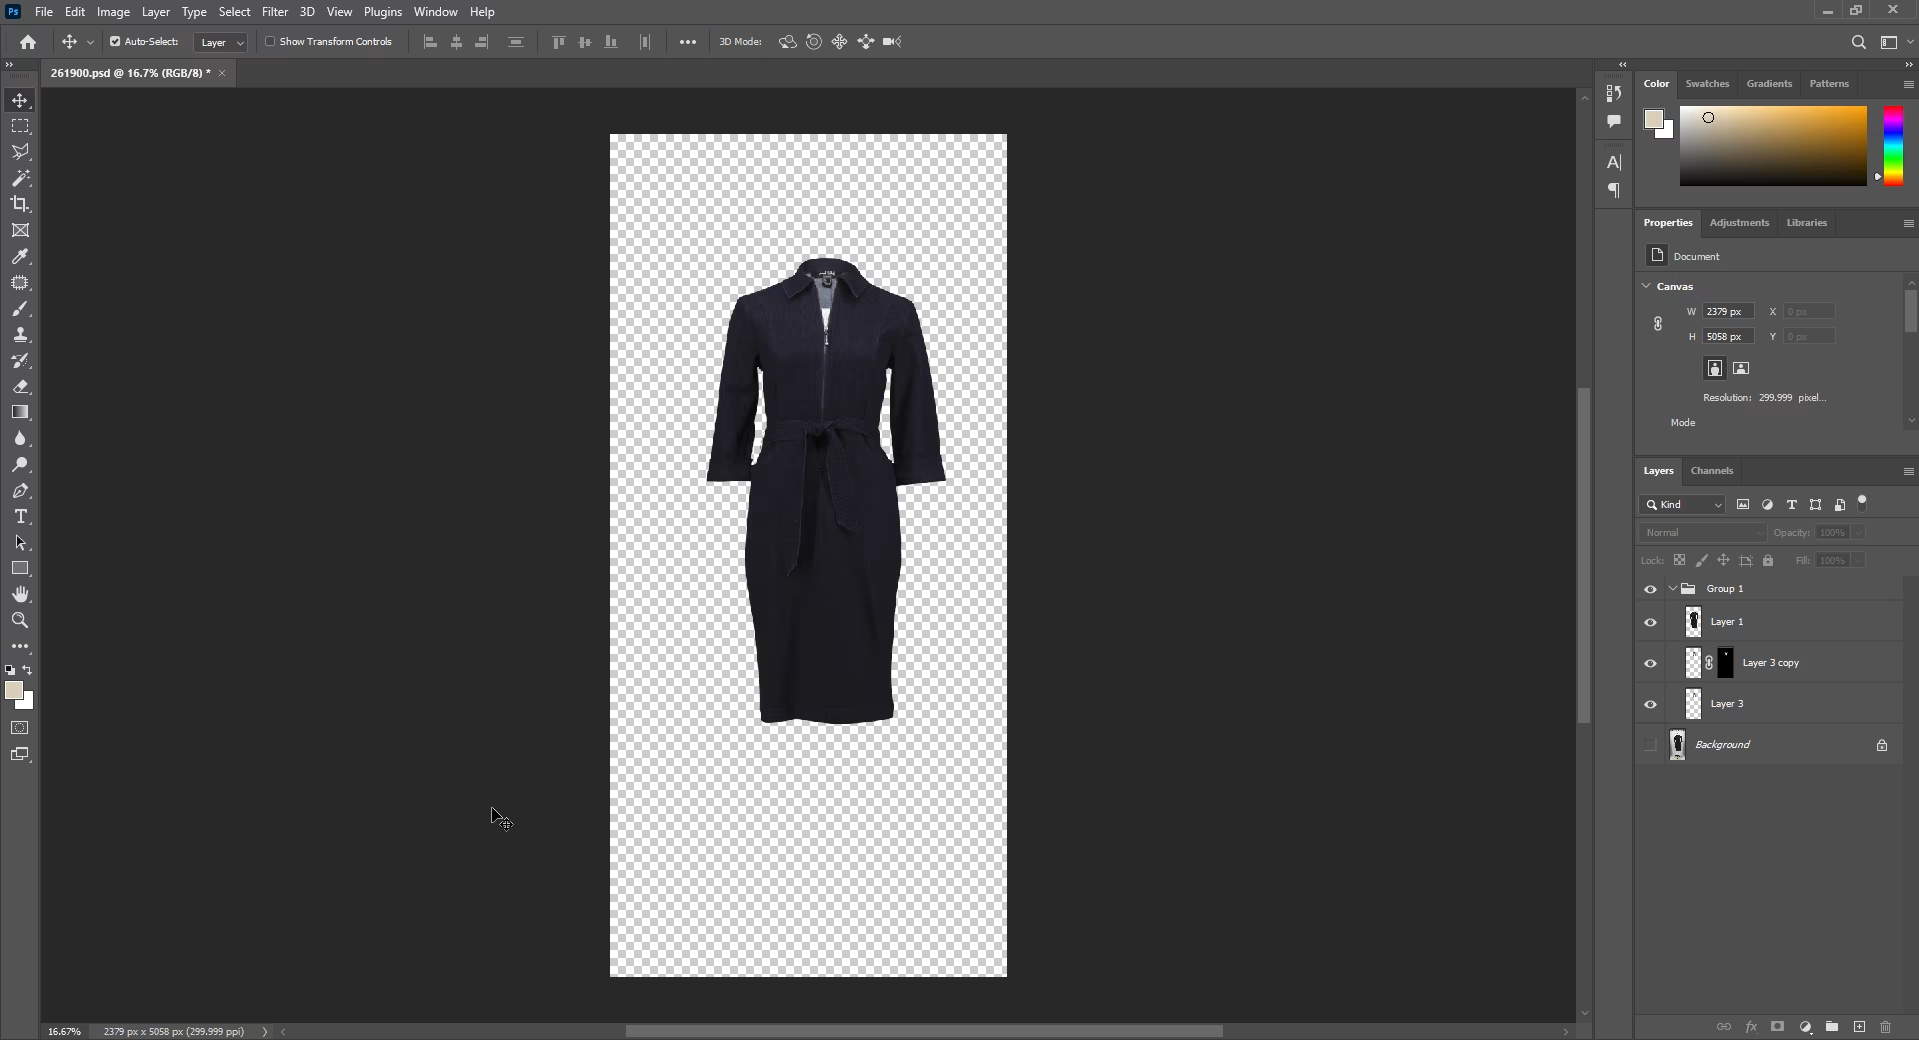
Editing for Symmetry and Balance
Even with the most meticulous photo shoot, post-production photo editing is almost always essential for perfecting symmetry and balance in apparel images. Good clothing editing aims to fix natural flaws without making the product look artificial. This means meticulously matching both sides of the garment rather than merely copy-pasting half of it, which can result in an unnatural or asymmetrical look.
Basic symmetry edits in Photoshop include precise cropping and straightening, using the editing app’s grid overlays to align garments perfectly and correct any camera tilt. Minor adjustments like uneven hems or slightly askew collars can be rectified with basic retouching tools, and smoothing out obvious creases helps achieve true symmetry on the fabric, delivering a high-quality product photo.
Enhancing Colors and Textures
In the post-production phase of apparel photography, enhancing colors and textures is critical to present a high-quality product image that truly reflects the garment.
This involves correcting issues such as incorrect exposure and positioning, ensuring every pixel contributes to the overall appeal. It is imperative to retouch and edit images consistently, especially for a series of apparel product listings, maintaining uniformity in lighting, cropping, leveling, and exposure across all photographs.
The goal is to accurately represent the garment’s true color and texture without oversaturation, which can make the clothing look unnatural.
Ensuring the outcome aligns with the brand’s visual language and marketing strategy is paramount, contributing to a cohesive and professional appearance across the entire online store.
Final Touches for a Professional Look
Applying final touches in post-production is where apparel images truly achieve a professional and polished symmetrical look.
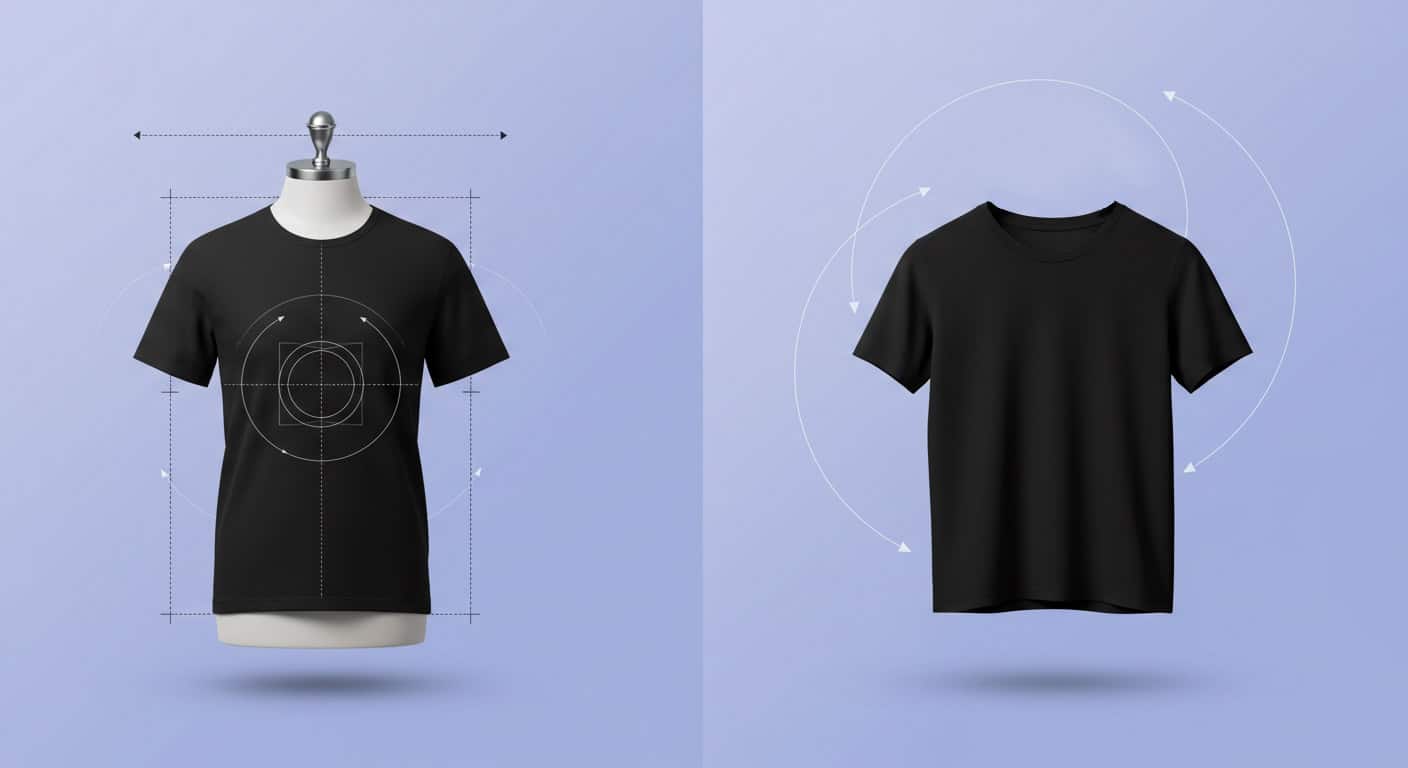
Key professional symmetry editing techniques include meticulous sleeve alignment, ensuring both sleeves match in length and cuff positioning.
Draping between the left and right sides must be adjusted to flow naturally and symmetrically.
Side-edge corrections are vital to ensure garment edges create perfect parallel lines, contributing to a consistent and appealing silhouette.
Curve refinement involves smoothing necklines, armholes, and hemlines for balanced and natural-looking curves.
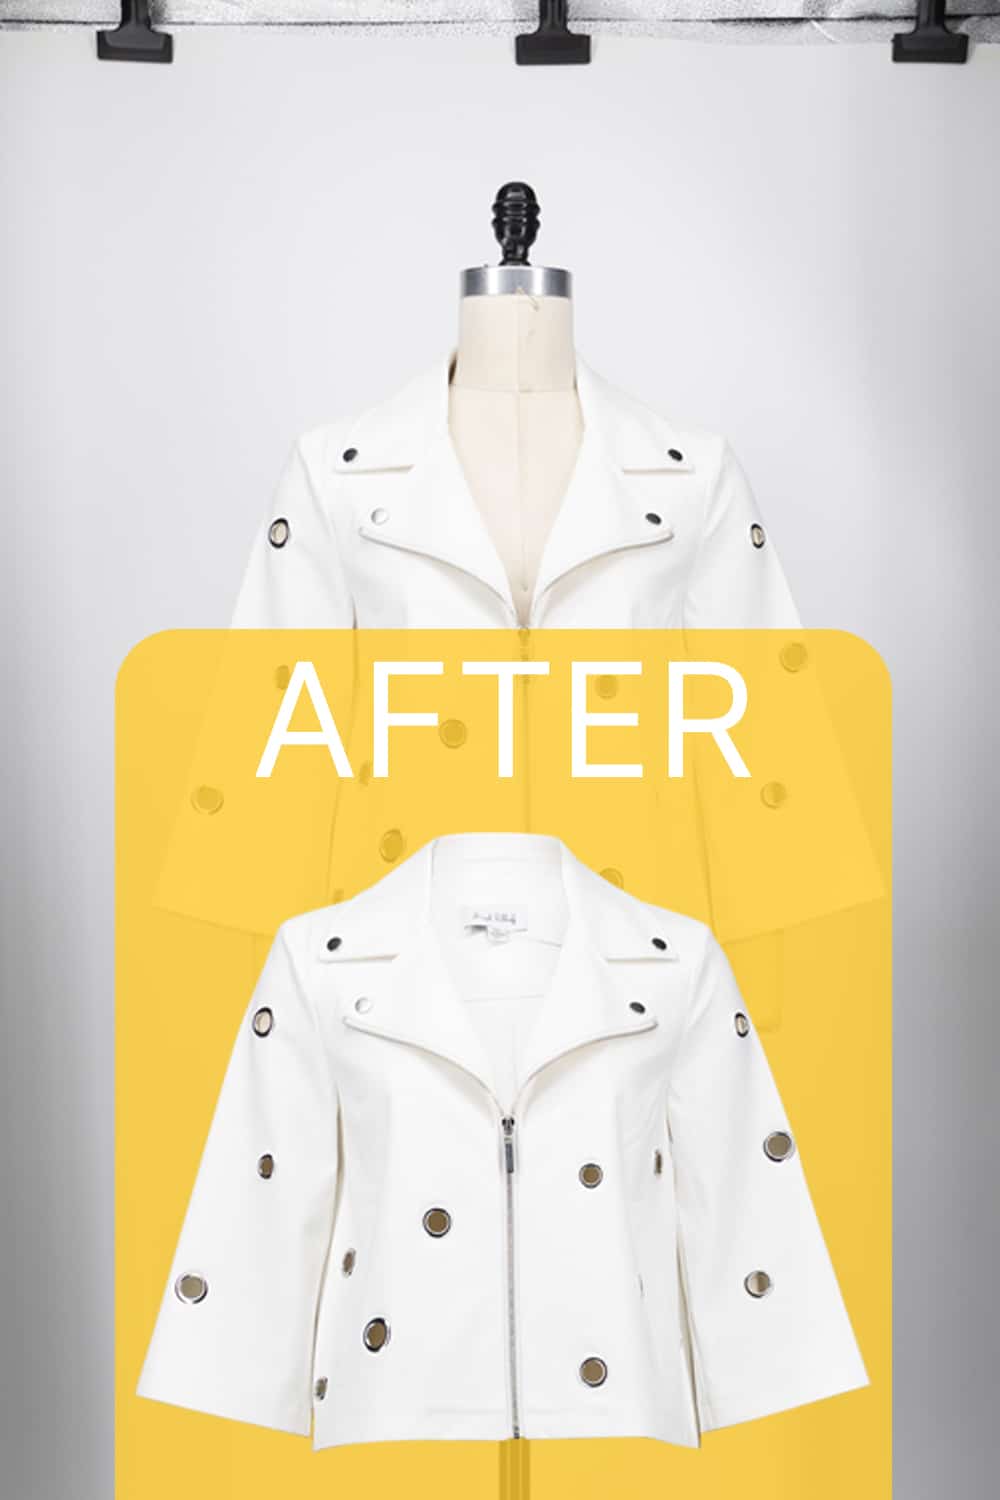
Furthermore, detail alignment precisely positions pockets, buttons, zippers, and decorative elements to mirror exactly, digitally reshaping the fabric while preserving realistic texture and natural draping, ultimately delivering stunning clothing images for any ecommerce store or marketplace.
Common Mistakes to Avoid in Apparel Photography
Identifying Asymmetrical Shots
One of the most frequent pitfalls in apparel photography is the failure to recognize and correct asymmetrical shots during the photo shoot itself.
Crooked collars, uneven sleeves, and lopsided hems can instantly diminish the perceived quality of even a high-end garment, making the product look unprofessional.
Shoppers possess a keen eye for detail, and they will invariably notice if apparel shots are crooked, unbalanced, or asymmetrical, which can erode trust in the ecommerce store.
While some garments inherently feature asymmetrical designs, the focus should always be on ensuring the overall structure and balance appear intentional and well-executed, preventing any accidental distortions that detract from the apparel’s appeal in the product photo.
Overlooking Details in Post-Production
A critical mistake in apparel photography often lies in overlooking crucial details during post-production, assuming all symmetry issues can be rectified later.
It is a common problem when an insufficient number of images, perhaps only two or three, are captured, failing to present all aspects of the product comprehensively.
This oversight limits the options for a professional photographer and can lead to an inadequate focus on capturing complex product details, such as intricate embroidery or unique closures.
Furthermore, many fashion shots lack variety in presenting different angles and perspectives, or the styling and editing are inconsistent, which can confuse customers and detract from the high-quality presentation of the clothing product in the ecommerce store.
Neglecting Background and Styling Choices
Neglecting background and styling choices constitutes a significant error in apparel photography, directly impacting the final product look.
Improper composition with distracting backgrounds and unflattering angles can divert attention from the piece of clothing itself. Overly bright or complex props, while intended to enhance the scene, can overshadow the clothing and accessories, making the garment secondary.
A glaring mistake is neglecting the product’s presentable condition; a creased skirt or a wrinkled shirt immediately makes the image look unprofessional, regardless of photographic skill.
Additionally, poor lighting, whether natural light or studio lighting, blurs fine details and distorts colors, making it impossible to accurately represent the apparel and maintain the desired symmetrical appearance in the product image.
Transform Your Product Photos with Stunning Symmetry
Conclusion
Recap of Key Tips and Tricks
Mastering symmetrical apparel photography is instrumental in presenting products appealingly and meeting the high standards customers expect in ecommerce.
This comprehensive guide has detailed a systematic approach involving meticulous pre-shoot preparation, precise image capture during the photo shoot, and diligent fine-tuning of symmetry in post-production.
Key tips and tricks include selecting high-quality samples, thoroughly steaming every garment, understanding fabric properties, and arranging all details evenly for a balanced product photo.
Furthermore, optimal camera settings such as using longer focal lengths, consistent aperture, and central positioning with a sturdy tripod are crucial for capturing stunning clothing images that enhance the online store’s appeal and professionalism.
Encouragement to Implement Techniques
Implementing effective symmetrical apparel photography techniques is more than just about making photos look good; it’s about building customer trust and directly driving sales for your ecommerce store.
By consistently applying the proper preparation, shooting, and post-production tips outlined, you can reliably create balanced, professional product photos that significantly enhance conversion rates.
Whether your strategy involves refining your in-house photo editing capabilities or opting to outsource to a professional photographer or photo retouching service, finding the right approach for your specific workflow and quality needs is paramount. This commitment to high-quality, symmetrical clothing images ensures your products stand out in a competitive marketplace.
Quick Links
Introduction to Symmetrical Product Photography
Preparing for the Photo Shoot
Techniques for Capturing Symmetrical Apparel Images
Setting Up Your Product Photography Space
Post-Production Techniques in Photoshop
Common Mistakes to Avoid in Apparel Photography
Conclusion

0 Comments